
Vermicomposting - Using Worms To Build Your Soil
Jan 06, 2023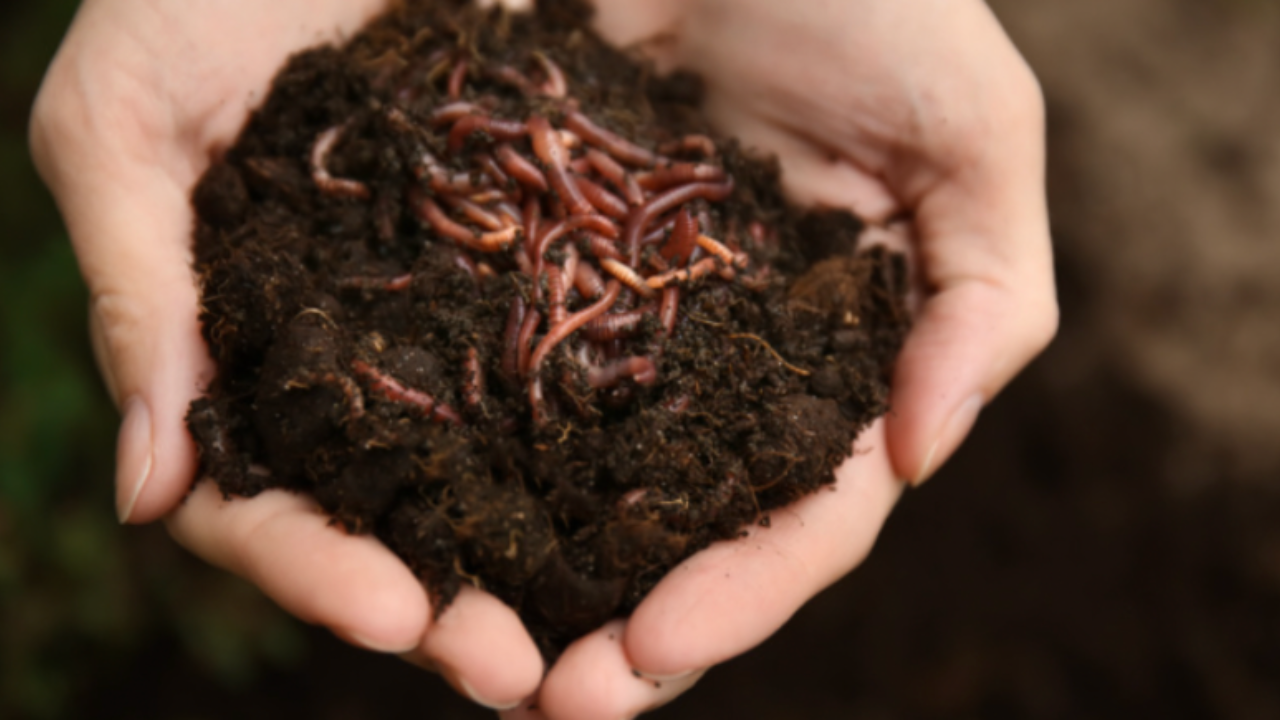
If starting a composting bin seems like more work than you are ready for, starting a worm bin might be just what you are looking for to start your composting efforts. Maybe you have heard of vermicomposting maybe you haven't, but it is a fun and easy way to turn kitchen scraps into amazing soil in a short amount of time, with very little work. Give vermicomposting, or composting with worms, a try this spring. You will be surprised!
Composting can seem intimidating, and maybe feel like a costly endeavor to take on for some gardeners. Maybe you don't have the space or don't like the look of a compost bin in your backyard. Or maybe it feels like a waste of time. Vermicomposting takes all of those doubts and turns them upside down and into soil in no time.
Here's How It Works:
Worms are scavengers and they like their home to be cool, dark, and moist. When you provide them with those three things plus something to eat, they will work day and night turning organic material into a nutrient rich soil that is perfect for your garden beds, containers, and pots. This process only takes around 8 weeks from start to finish, so you can have garden gold to add to your soil in no time!
Keep Their Home Cool
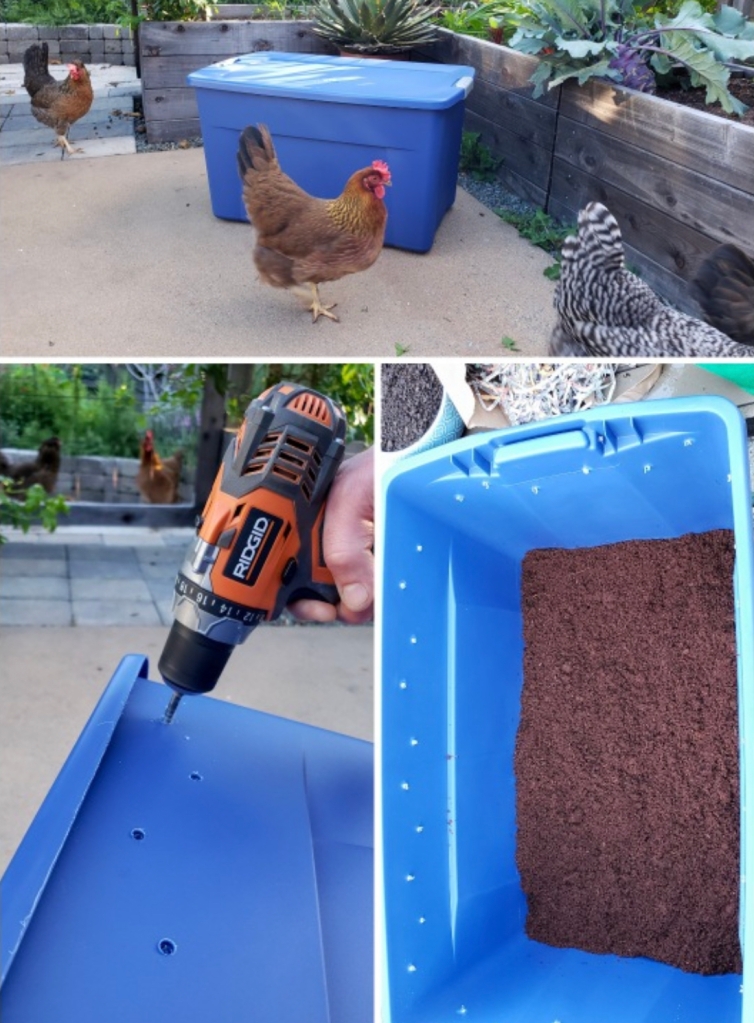
To start, their home has to be cool. This means that you will probably want to keep it in a sheltered location like the garage or laundry room. THE LAUNDRY ROOM? Yes! This method of composting is super discreet, so you never have to worry about smelling the worms or even seeing them. That is because their home just looks like a bin of Christmas decorations. Yep, the ideal worm bin is simply a Tupperware bin that you have laying around. We prefer a 35 gallon bin, with a lid, as our ideal size. Use a quarter inch drill bit to drill holes around the top of the bin, NOT IN THE LID where water can get in, for optimum air flow. You can see in the picture below how to drill the holes. I forgot to take pictures of ours when we built it, but this is exactly how we did it.
Keep Their Home Dark
Think about it. Where do worms live? Underground. So you want to mimic that environment for them. It needs to be dark. The easiest way to give your worms a dark domain is to make sure you use a colored Tupperware bin. This will not only keep it dark, but also help it stay cool and moist. All things worms love. And as a bonus, because the bin is not see through, nobody will ever know what you secretly have stored in it. SCORE!
Keep Their Home Moist
This is really important. Too wet and the worms will drown because they breathe through their skin. Too dry, and they will dry out and die as well. You want your bin to keep the consistency of a wet sponge. By using a spray bottle or the sprayer at your kitchen sink, this job is super easy. Each week when you add food for the worms, check the feel of the soil. If it doesn't hold together when squeezed in your hand, add some water. More on this below.
Setting Up Your Worm Bin
So, you have your Tupperware bin, and you are ready to go. Perfect. In about 30 minutes, you will have a working worm bin. It is that easy.
Bedding
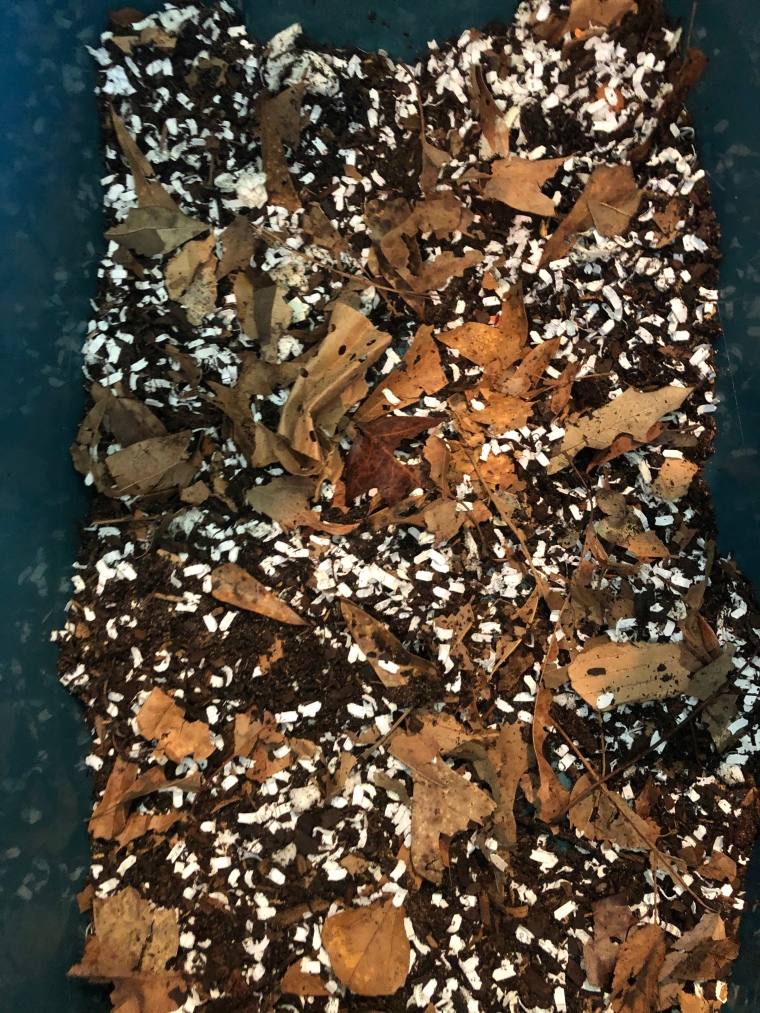
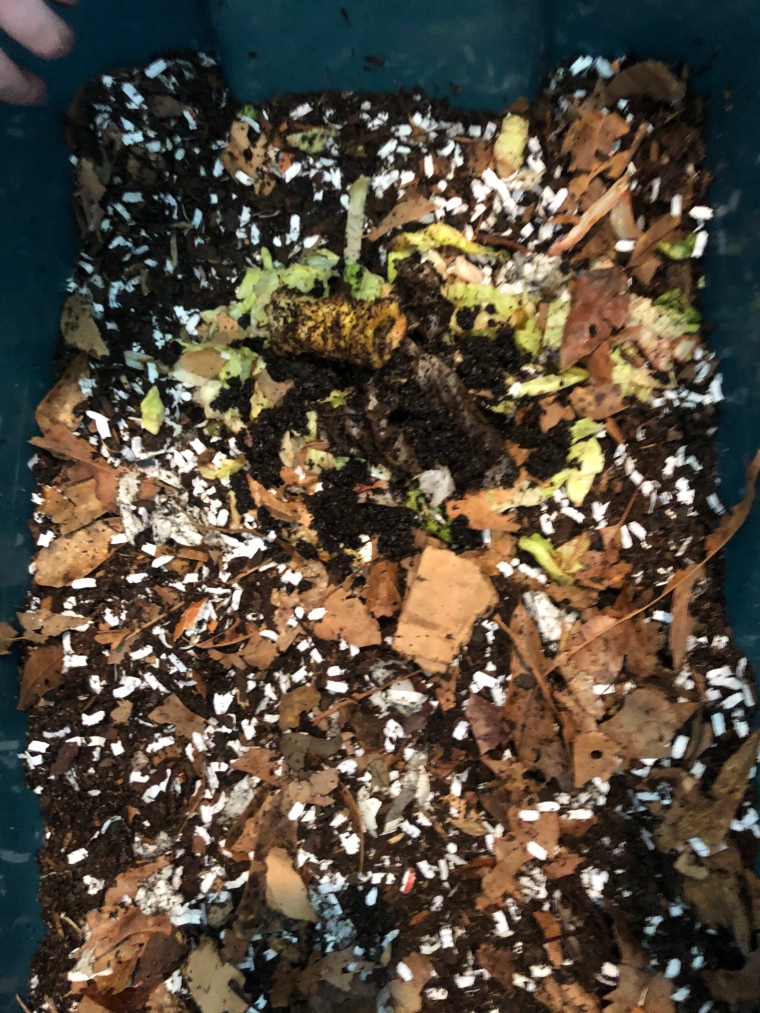
Bedding for your worms is the first order of business. We use a combination of potting soil, coco coir, and paper shavings to create the bedding for our worms. This combination doesn't have to be exact, but the three ingredients are important. The potting soil provides sand and grit for the worms that they need to digest the scraps. The coco noir is loose and fluffy, so it helps the bin retain moisture, and the paper shavings or newspaper clippings give the carbon element that is needed to give the worms energy. They will eat the bedding too, so you will have to replace it occasionally. We usually add a handful of "browns" (small piece of cardboard or paper bags, newspaper clippings, or shredded newspaper) to the bin each time we add food scraps. It keeps everything balanced, and just like in a traditional compost, the browns help to balance the high nitrogen content of the scraps or "greens" we are adding when we feed them.
Tip: Coco coir is sold in bricks that must be rehydrated in order to be used. I place the brick in a shallow bin or bucket and spray it with the hose until it begins to break apart and crumble. Remember, you want a moist bin, not a soggy one. When the coco coir begins to crumble, take it out of the water and work it with your hands in your bin. When it is too hard to break again, place it back in the water for a few minutes. Repeat this process until it is completely crumbled. If you leave it in the water for too long, it will become soup and won't be useable.
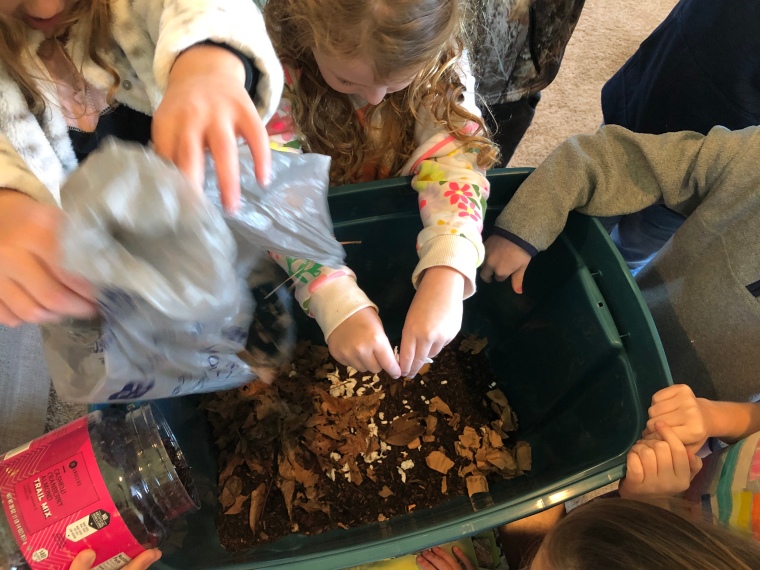
Food For The Worms
After your bedding is in the bin, the next step is to add food for your worms. This process is simple. Form a small well one corner of the bin. Then take kitchen scraps like vegetable peels, fruit, veggie scraps, egg shells, and coffee grinds and place them in the well. Easy right? That is all you do. Now the next time you feed your worms (anywhere from a few days to a week) you will feed them the exact same way, but on the other side of the bin. This keeps them moving from side to side week after week adding air to the bin as they move along.
Tip: Never use meat, dairy, citrus, or sweets in your worm bins. They don't balance the bin well and are hard for the worms to break down. Remember that we are what our animals eat, so feed the worms well. And always chop your scraps into small pieces. The smaller the pieces the easier for the worms to digest and the faster the process gets done.
Adding worms
Once you have the bedding down and food in place, it is time to add your worms. You can get worms locally or buy them online at Meme's Worms. We have done both with great success. To get started you will want to purchase between 500-1000 worms. This is a mistake that most people make, and that I made on our first, second, and third worm bins we built. Adding 10 worms is only going to create a nasty mess inside your bin. They can't eat the scraps fast enough, so bacteria and fungus finds its way in and will overtake the bin in a very short amount of time. Worms will not overpopulate an area, yet they will double their population in no time, so don't worry about adding too many. 500-1000 worms is a good place to start. When you add worms for the first time, place them right on top of the food pile and cover it all up. This will help your worms get right to work and not have to spend time trying to find the food source when they are first introduced to their new home.
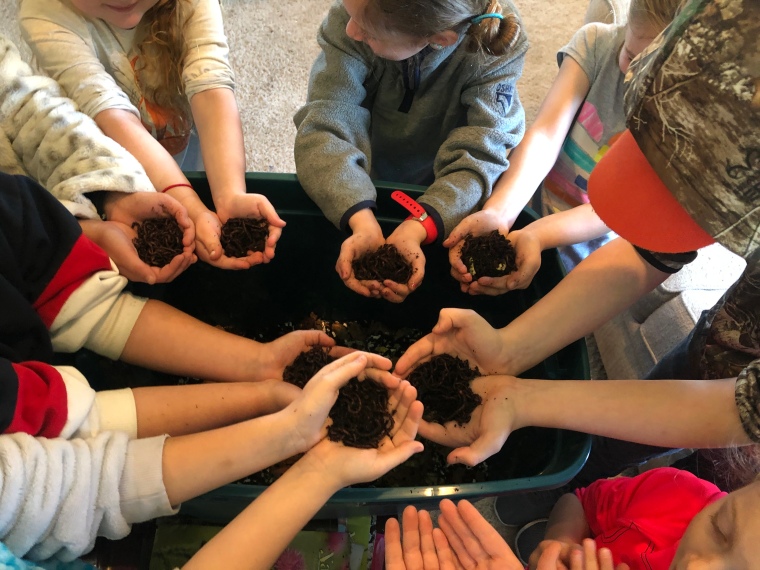
Tip: When buying worms, always choose Red Wigglers. This is very important because they are surface eaters and will devour their body weight in no time. This is the perfect worm for your bin.
Maintaining The Bin
Now all that is left to do is put the lid on the bin and let the worms go to work. Easy huh? They will begin devouring the scraps right away, so check your bin every couple of days and see how things are going. If the bin looks dry, give it a spray of water. If the food is gone, add more.
Keep your scraps in the kitchen and add them to your bin about once a week, or as needed. Mostly, you will be feeding the worms once per week. But check the bin every few days to make sure that they haven't devoured their last meal already. If they have, just add more.
When you feed your worms, it is also a great time to get the air circulating in the bin. Mix all the bedding with your hands before adding the food. This allows you to see what has been eaten at the same time. You can see if you need more carbon or "browns" and then dig a well again, and bury it just like you did during start up.
Tip: If there is a fair amount of food scraps left when you check the bin after a week, add less scraps than you added the first time. You can also add more coffee grinds to the bin as a little bit of an energy booster for your worms. The coffee will get them moving, just like it does for us in the mornings!
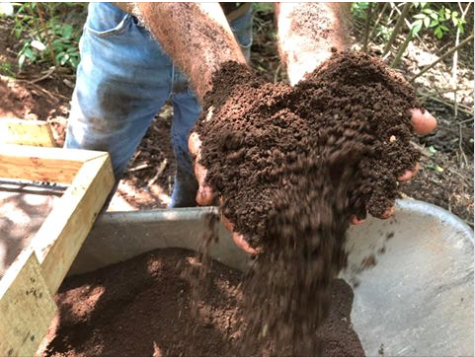
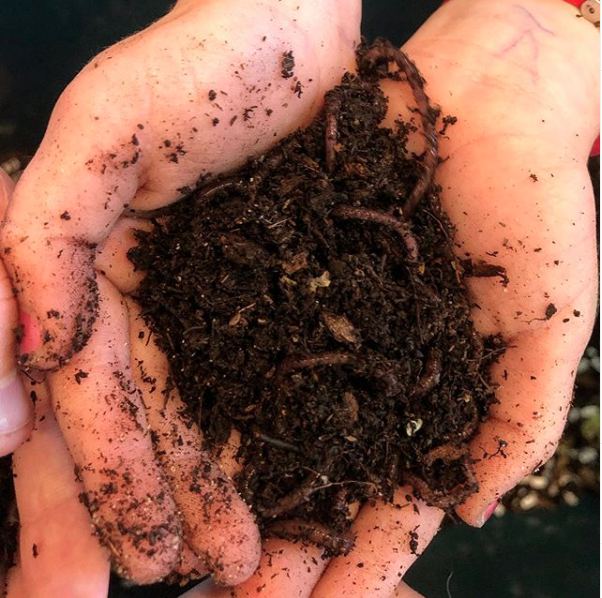
Harvesting Worm Castings
After a couple of months, you will begin to see that your bin is filling up with dark, rich castings. Castings is just a nice way of saying POOP! Yep, worm poop is the gold of the garden. The easiest way to harvest the castings is to begin a few weeks ahead of when you want to harvest and just start feeding your worms on one side of the bin only. Almost all of the worms will migrate there to eat, leaving one side of the bin worm free...or almost.
When you are ready to harvest, scoop out the finished castings from that side only. Then go through the castings and remove any rogue worms that may have been left on the wrong side of the bin. If you hitch a few stragglers who end up in the garden, that won't hurt a thing. They will become useful residents in no time.
After you harvest the castings and put the runaways back in the bin, spread the bedding that is left back across the whole bin, adding more "browns" if needed, and start the process over. The only difference is that this time, you will probably have more worms. That is because worms can double their population in 90 days. So, at the very least, you will probably have more than you started with. That means you may want to add more scraps to the bin each week to keep them happy.
Give the bin a good misting if it needs it, and the lid goes back on. Now you can add those castings to your garden, potted plants, or containers around the yard. These little guys do a lot of work in a short amount of time! You will love them!
Making Compost Tea

Hands down my favorite way to use my worm castings is in compost tea! Compost tea is a natural liquid fertilizer that is made by steeping compost in water. The purpose of brewing compost tea is to extract beneficial microbes and soluble nutrients, and then provide them to plants in a form that they can readily uptake and utilize. The more microbes we can give our soil, and the more nutrients we can give our plants, the happier everyone will be.
Tea Takes Compost To The Next Level
If you want to make the most of your compost and create the best tea possible, brewing actively aerated compost tea is the way to go! Why wouldn't you want to take your compost to the next level?? I mean are you a wild child? Yes, you are, so I know you will love this. Here is the thing: By introducing air and a food source for the beneficial microbes, their populations within the tea increases by the thousands.
The process of making actively aerated compost tea significantly enhances the strength and effectiveness of your starting compost. However, the process will be as good as the inhabitants and nutrients that are already in the raw compost used to brew the tea. Therefore, we have to make it ourselves, right? Quality in equals quality out! You don't have to make it yourself, but you do have to choose the highest quality compost available to get the results you want.
Benefits of Compost Tea
- Compost tea enhances the soils ability to retain nutrients, so there is less need to use other fertilizers.
- An enriched population of beneficial microbes, can increase the bioavailability of nutrients to plants. They break down organic matter and free up minerals. This means the plants can uptake nutrients from the soil more readily.
- Compost tea can help improve the soils moisture retention properties. This prevents stress to plants by maintaining a more evenly moist soil, and reduces the need for more frequent watering.
- Plants fed compost tea are reported to not only grow stronger, but also have a boosted immune system and improved ability to resist disease.
- Likewise, it increases a plants ability to tolerate and rebound from stress such as drought or pests.
ARE YOU IN?? LET'S BREW!
SUPPLIES NEEDED:
- quality compost
- 5 gallon bucket
- tea bag
- air pump
- air tubing
- air stones
- microbe food (molasses, or seaweed extract)
Directions For Brewing
Prepare your bucket
Add air stone to your bucket. Ideally, it should rest on the bottom of the bucket, with the tea bag suspended above it. This prevents the bag from sitting directly on the bubbler and blocking the air flow. Then add water to your bucket and let it sit out for a day or two to let any chlorine burn off. Once your water has been de-chlorinated, move the bucket out of the direct sunlight. Fill your bucket almost full to allow room for the bubbles!
Prepare Your Compost Tea Sacks
Fill your tea sacks with several cups of finished compost, using 2-5 cups per 5 gallon bucket. Tie the sack closed on top and leave a little length to the string so you can suspend the teabag in the bucket.
Steep and Feed
Dunk your ready compost tea sack in your bucket. Just as you would with a tea bag, lift and lower the bag in the water several times to moisten, agitate, and encourage infusion. Tie the extra length of string to the handle of the bucket.
Add 1/3 cup organic molasses to each 5-gallon bucket at this time. Sometimes, we also add a capful of seaweed extract too, if you have it.
Turn it on!! Allow the compost tea to bubble for 12-48 hours. This is the ideal timeframe for optimal microbial activity and nutrient extraction.
Start the Brew
Kick on the air pump! Allow the compost tea to bubble for 12-48 hours. This is the ideal timeframe for optimal microbial activity and nutrient extraction.
A Few Pointers
Use Your Compost Tea Right Away!
At the end of the designated brewing period, be prepared to use your finished tea in the garden immediately. Actively aerated compost tea becomes anaerobic very quickly, and its benefits and strength quickly degrade. Use it within an hour or two after removing the air source. The quicker, the better!
What to do with the “spent” compost in the tea bags?
That's easy! Once the tea has finished brewing, we open up the tea bags and add the castings to the garden beds around the base of the plants.
How to apply the compost tea for the best results?
Using compost tea as a soil drench is the most bang-for-your-buck. Using a full-strength aerated compost tea, which delivers all those stellar benefits we previously discussed – straight to your plants root systems is the way to go!


