Drying Herbs The Wild Child Way
Jan 06, 2023Drying herbs to store for later use, now that the season change is upon us, is a very simple way to continue using the herbs you have grown to love, even when the temperatures don't allow them to stay fresh in the garden. Herbs like dill are great to dry for pickling in the summer. Cool season herbs like parsley, rosemary, thyme, and oregano store so well dried and can be used in so many recipes.
The method I am going to show you today is easy and beautiful. It is a great exercise to do with little ones. They will benefit from the aromatics of the herbs and they love to make pretty things.
Start By Picking As Many Stems As Possible
Cut as many fresh stems as you can from your garden beds. I like to do this at the end of the season when I have used all the fresh I can. Right before I say goodbye to the plant, I cut as many stems as possible for drying.
Timing is important when it comes to drying herbs, too. They should be picked before the flowers develop, which is why I like to designate a day at the end of the season to day good by to my herbs and begin preserving them. If you wait until mother nature ends their life cycle, you won't have good quality herbs to save. You should also harvest them on warm, dry morning after the dew has evaporated.
Prep Your Herbs For Drying
Next you will want to take some time prepping your herbs before drying them. Do this by discarding any damaged leaves, and only keep the best looking stems possible.
Finally, you want to place your herbs in two categories. One will be those soft and feathery herbs that will stay on the stalks to air dry. The second will be herbs like mint, lavender, rosemary, and sage that have large leaves and more more stiff. These flat leafed herbs will dry differently. More on that later. For now, let's keep working on herbs that are soft like thyme, oregano, dill, cilantro, and fennel.

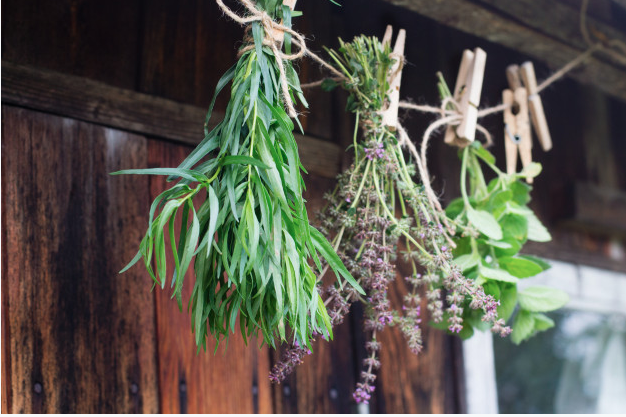
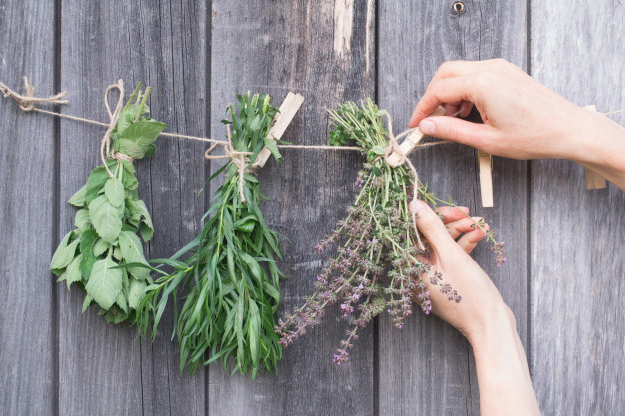
Bundle Your Herbs
Next, just tie stems in bundles and hang the herbs upside down. TIP: Use twist-ties so you can easily tighten the bundles when stems shrink as they dry. Then tie a string around the bundle so that you can hang them.
Tie your bundles small like the picture above, so that they dry quickly. If your bundles are too big they will mold before they can complete the drying process. Air flow is important, so keep your bundles small.
Find the Right Spot To Hang Them
Success with this process greatly depends on where you hang your herbs. Effective drying relies on abundant dry, fresh air more than heat. A well-ventilated place out of direct sunlight is ideal.
A Few Things To Remember
The internet makes hanging herbs really pretty. In fact every picture I have included in this post is beautifully bundled herbs. The reality of herb drying in South Louisiana is that it is going to take a while in our humid climate. To keep dust from settling on the leaves, slip the bundle in a brown paper bag before hanging. This will keep dust off and catch any dropping leaves as they drying process progresses.
The herb drying process will take ten days to two weeks to dry, depending on the size of the branches and humidity. Wondering if they’re completely dry? If the leaves sound like crisp potato chips when crushed, they’re good to go.
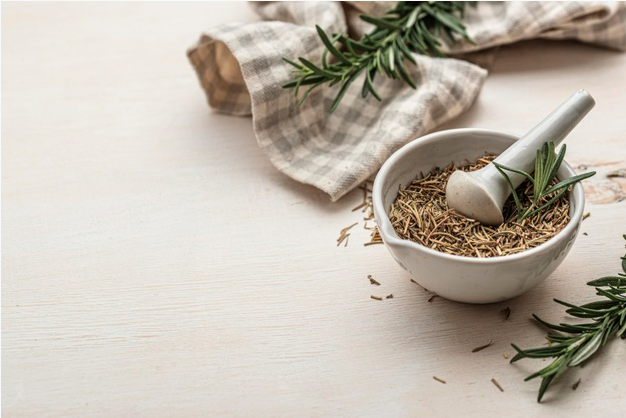
Storing Your Dried Herbs
To store herbs, crumble the dried herbs with your fingers (discard the hard leafstalks and midribs) and store in small, airtight containers. If you use clear glass containers, store them in a dark place so the herbs don’t lose their color.
Remember, drying concentrates the flavors of herbs, so you don’t need to use as much in recipes. For example, if a recipe calls for 1 tablespoon of fresh herbs, use 1 teaspoon of dried herbs instead.
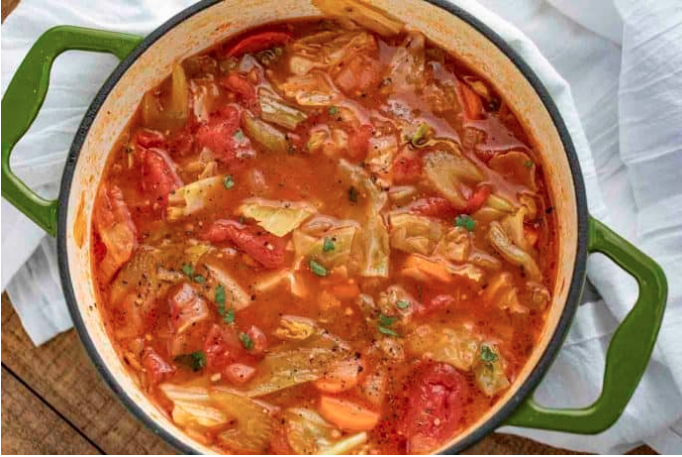
Cabbage Soup with Dried Garden Herbs
Ingredients
- 1 head of cabbage, diced
- 1 onion, diced
- 1 lb. breakfast sausage
- 1 jar of spaghetti sauce
- 1 carton of quality chicken stock
- 1 tsp. dried oregano
- 1 tsp. dried thyme
- 1 tsp. dried parsley
- salt and pepper to taste
- water
Directions
In a large stock pot, brown breakfast sausage. Then add diced onion and continue cooking until onions are clear. Add cabbage and cover pot to smother. Once cabbage is smothered down and tender, add jar of spaghetti sauce and chicken stock and let simmer for 10-15 minutes, stirring well.
Add herbs, salt and pepper to taste, and water if the soup seems thick.
Serve with a nice loaf of crusty bread or cornbread. Delicious!